

Choosing between natural light vs studio light is one of the first decisions in photography, and it can greatly affect the look of your images. Natural light (sunlight) often gives photos a soft, flattering glow and an authentic feel. In contrast, studio lighting (strobes, flashes or other artificial sources) offers complete control and consistency. There is no absolute “better” choice – each has trade-offs. For example, studio light is created artificially by flashes, strobes, or other sources, whereas natural light is the light that comes from the sun, moon, or stars. In general, natural light requires fewer tools (just point outdoors to the sky) but offers far fewer choices for shaping it, while studio light lets you dial in every beam but demands gear. The ultimate answer depends on your subject, location, and style.
Natural Light (Outdoors and Available Light)
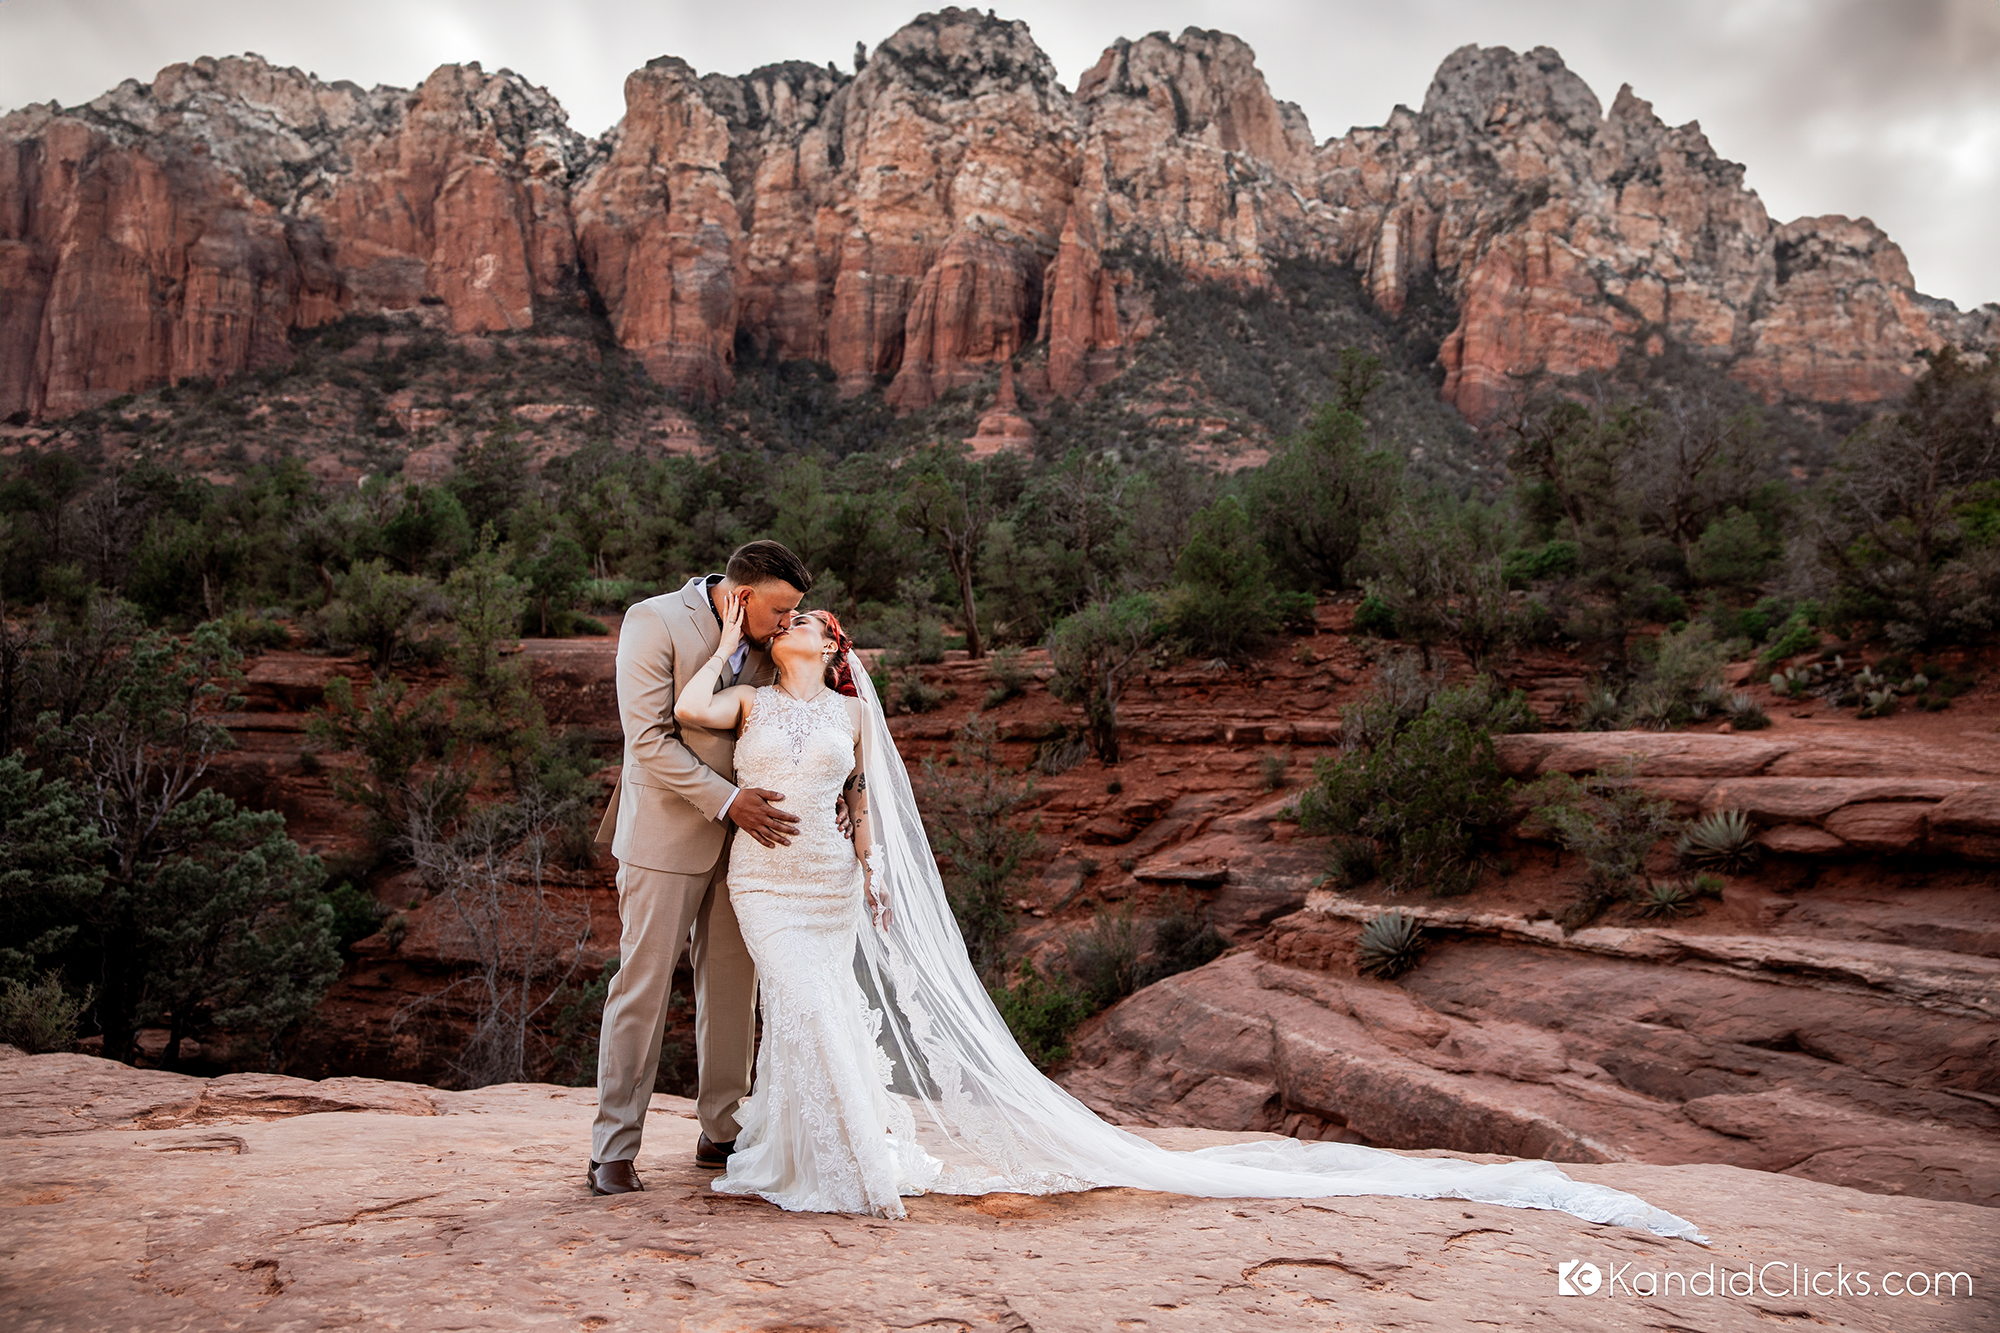
Natural light comes directly from the sun (or even the moon/stars at night). It tends to be soft, warm, and flattering, especially during the golden hours around sunrise or sunset. Many photographers prize it for its organic, authentic look. In bright daylight or shaded outdoors, natural light gently enhances skin tones and textures, giving people a warm glow. It’s also abundant and free, since sunlight requires no equipment. However, it has notable drawbacks:

Flattering glow:
Sunlight at golden hour (early morning or late afternoon) casts a warm, diffused light that softens features. This natural light often “brings out the best in skin,” making skin tones glow warmly.
Authentic feel:
Photos shot in natural light tend to look realistic and genuine. The broad, soft illumination creates a connection with the viewer through an “organic” feel.
Unpredictability:
The downside is that natural light changes constantly. Weather, clouds, time of day, and even seasons affect its intensity and color. You have far less choice over direction or strength of light than in a studio. A sudden cloud or high noon sun can ruin a carefully planned shot.
Limited control:
Outside, you can’t easily position or soften the sun like a studio light. This means it can be hard to get consistent results across a shoot. For example, midday sun produces harsh, unflattering shadows, whereas early-morning sun is gentle and diffused. You must adapt constantly.
Timing constraints:
The best natural light (golden hour) happens only twice a day, and bad weather can cancel an outdoor shoot altogether. This can be a scheduling challenge, especially in places with highly variable weather.
Bottom Line: Natural light is beautiful and cost-free, with a soft, realistic look, but it demands flexibility and quick adaptation to the environment.

Studio Light (Artificial, Controlled Lighting)
Studio lighting is 100% artificial, typically using flashes, strobes, softboxes or continuous LED lights. It requires more equipment but offers total control over every aspect of the light. In a studio, you can place lights exactly where you want, adjust their strength, color, and shape, and create almost any effect. This makes studio light ideal for scenarios where consistency or a dramatic look is needed:
Complete control:
With studio lighting, you decide exactly how bright, soft, or colored each light is. You can aim lights from any angle, use umbrellas or diffusers, and change settings on the fly. This precision means every detail of the scene can be lit exactly as you envision.
Consistent results:
Studio setups don’t change with time or weather. Once you set up your lights, you’ll get the same lighting on every shot. This is critical for headshots, product photos, or fashion shoots where matching images is important. Unlike sunlight, artificial light remains constant all day.
Creative effects:
Because you can adjust and mix multiple lights, studio lighting lets you create dramatic, high-contrast effects. You can make a bright spotlight on the subject with dark shadows, or very even, flat lighting – anything your vision requires. It’s also great for effects like backlighting or colored gels that are impossible outdoors.
Weather independence:
No matter if it’s raining, cloudy, or midnight outside, studio shoots go on as planned. You never have to cancel for weather. This is a big advantage in places with unpredictable climates (Phoenix summers can be brutally bright midday but you wouldn’t know it in a studio).
Professional quality:
Because of this control and consistency, studio lighting often produces very high-quality, polished results. It’s the standard for things like corporate headshots, fashion editorials, and product photography.
Drawbacks: All this control comes at a cost. Studio lighting requires buying or renting lights, modifiers, backdrops, and often a dedicated space. It can be complex to learn (you may need an assistant for big setups). Setting up lights also takes time, which can slow down shoots. In short, studio lighting is powerful but gear-intensive and not free. However, as one guide notes, “studio lighting is a powerful tool… [that] allows you to create consistent, high-quality photos” if you’re willing to invest
Deciding Between Studio and Natural Light
There’s no one-size-fits-all answer – the best light depends on your subject, style, and situation. Here are some guidelines to help you choose:
Subject and style:
If you want warm, candid portraits or outdoor scenes (beach, park, etc.), natural light can give a beautiful, genuine mood. For example, maternity and family photos in the Arizona sunlight can feel very natural. But if you need something more polished or dramatic (e.g. tight beauty headshots, product shots, fashion editorials), studio lighting is often better.
Location and environment:
Consider where you’ll be shooting. If your photographer has access to a good studio (like our Phoenix studio) and you want a controlled backdrop, studio lighting may be easiest. If you dream of a colorful desert sunset photo or a shoot in a specific outdoor location, natural light is obviously required. (In fact, our Outdoor vs. Studio Maternity Photos blog compares those choices in more detail.)
Budget and schedule:
Natural light requires almost no budget aside from time. If money or equipment is tight, outdoors is cheaper. Studio sessions, meanwhile, cost more for gear and rental space. Also, natural-light sessions depend on good weather and schedules, whereas studio shoots can happen any time of day.
Photographer’s strengths:
This brings up a common question: Should you choose a photographer who only uses one type of light? In most cases, it’s good to pick a photographer whose style matches your vision. Some specialists only shoot outdoors (available-light photographers) and excel at catching golden sunlight. Others only do studio work. Neither is “wrong,” but know what you’re getting. A versatile photographer can adapt to either lighting style – giving you options. In the end, focus on the photographer’s skill and experience, not just the light they use. If you want indoor headshots but hire someone who only does outdoor shoots, you’ll be disappointed.
Ultimately, try to see sample work in both styles. Natural vs studio light is not a matter of one always being better – it’s about what look you want. Many pros recommend experimenting: sometimes outdoor portraits provide the soft mood you love, and other times the controlled drama of studio lighting is the ticket.

Preparing for a Studio Session (Makeup & Styling)
If you opt for a studio photoshoot, keep in mind that bright studio lights will highlight every detail. Many clients ask how to prepare, so here are some practical makeup and hair tips for studio sessions:
Opt for matte finishes:
Studio lights can make shiny skin or glossy makeup reflect. Use a matte or satin-finish foundation to give your skin an even, non-shiny base. Set it lightly with powder to control any oil. This keeps your face looking smooth under the flash.
Define your features:
Studio lighting can “flatten” your face a bit, so a slightly stronger makeup than normal helps. Do subtle contouring under your cheekbones and along the jawline to add dimension. A soft blush (peach or rose tones) warms up your cheeks. You may add a light highlight on the high points of your face for a gentle glow (but avoid heavy glitter – too much shine bounces back at the camera).
Focus on the eyes:
Eyes are focal points in portraits. Fill in your brows so their shape is clear. Choose neutral-to-deep eyeshadow shades (browns, taupes or plums) and blend well. Apply eyeliner close to the lash line for definition. Use a good mascara (waterproof is smart under bright lights) to make lashes pop. Well-defined eyes help your face stand out in the final images.
Bold(er) lips:
Under studio lighting, lip color can look lighter than in normal light. To be safe, pick a lipstick that’s a bit more pigmented than your usual shade. Creamy-matte or satin lipsticks work well. Avoid very glossy lips, since they can create unwanted glare. Bring your lipstick or gloss for touch-ups between shots to keep your lips looking fresh.
Setting spray:
Once your makeup is done, a good setting spray will lock it in place. This helps your look stay put throughout the session (especially if the lights are hot or the shoot runs long). It prevents smudging and fading under intense lights.
Hair preparation:
Studio lights tend to emphasize frizz and flyaway hairs. Smooth your hair with a light styling product or hairspray. Gentle curls or waves can add volume and frame the face nicely under camera. It’s often helpful to bring a brush or comb for quick touch-ups. If you want big, soft waves for extra volume, discuss that with your stylist or photographer in advance.
(Optional) Hire a pro MUA:
If you want a truly camera-ready look, consider a professional makeup artist. They know exactly how to balance makeup for studio lighting so you look like your best self on camera. A pro can save time and stress on shoot day, ensuring colors and coverage are just right for the lights and background.
In short, the right makeup and hair will make you feel confident and keep you looking polished under studio lighting. This preparation helps you relax and enjoy your session – which always shows in the final photos.
Booking Your Session
Whether you choose sunlit portraits or studio precision, we’d love to be your photographer. At Kandid Clicks Photography (Phoenix, AZ), we offer maternity, family, senior, sports, and event portraits in our comfortable studio or on location. We provide a fully guided, stress-free experience – from outfit advice to posing help – so you look and feel amazing on shoot day.
Ready to capture your moment? Visit our Maternity Photography Prices & Packages to see all session options (outdoor or in-studio) for your portrait type, or simply Contact Us to book your studio photoshoot. We can’t wait to create beautiful images with you, whether in the warm Arizona sun or under our controlled studio lights!